𝐒𝐭𝐞𝐩-𝐛𝐲-𝐒𝐭𝐞𝐩 𝐆𝐮𝐢𝐝𝐞: 𝐇𝐨𝐰 𝐭𝐨 𝐋𝐚𝐮𝐧𝐜𝐡 𝐘𝐨𝐮𝐫 𝐅𝐢𝐫𝐬𝐭 𝐕𝐢𝐫𝐭𝐮𝐚𝐥 𝐏𝐫𝐢𝐯𝐚𝐭𝐞 𝐂𝐥𝐨𝐮𝐝 (𝐕𝐏𝐂) 𝐢𝐧 𝐀𝐖𝐒
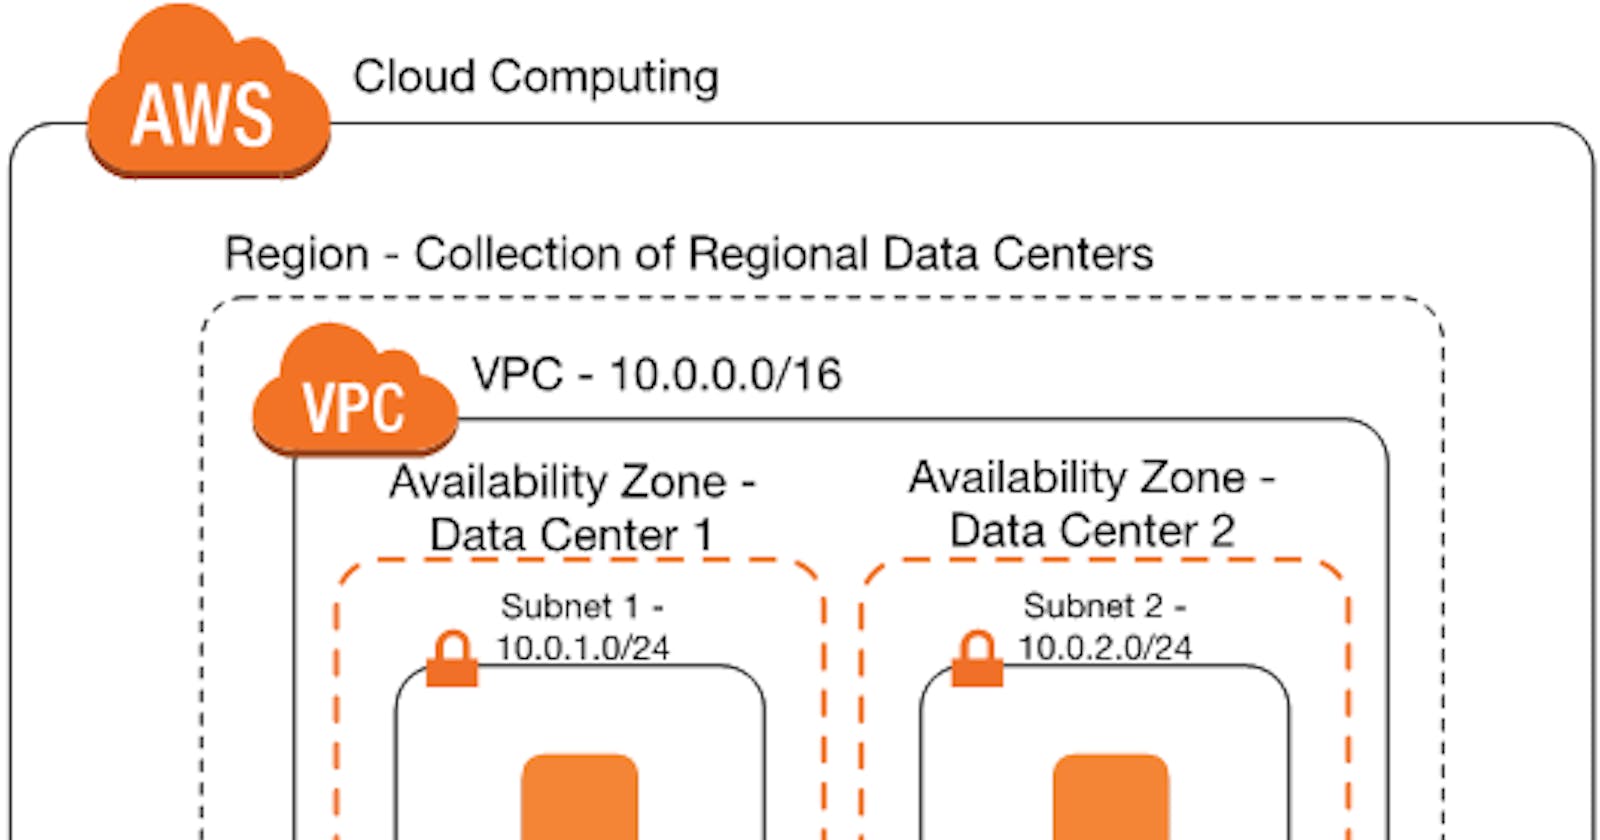
Firstly, let me explain the significance of a VPC in the cloud. A Virtual Private Cloud (VPC) is a logically isolated virtual network within the Amazon Web Services (AWS) cloud. It allows you to create a private virtual network in the AWS cloud and launch resources such as EC2 instances, RDS databases, and more within that network. A VPC enables you to have complete control over your virtual networking environment, including IP address ranges, subnets, and route tables. It also provides a secure and scalable infrastructure for your applications and resources.
Here are the step-by-step instructions for launching your first VPC in AWS Cloud:
Step 1: Log in to the AWS Management Console
Step 2: Navigate to the VPC dashboard by clicking on the "Services" dropdown menu at the top of the page and selecting "VPC".
Step 3: Click on the "Start VPC Wizard" button.
Step 4: Select the type of VPC you want to create. AWS provides four VPC types: VPC with a Single Public Subnet, VPC with Public and Private Subnets, VPC with Public and Private Subnets and Hardware VPN Access, and VPC with a Private Subnet Only and Hardware VPN Access. For this example, we'll select "VPC with Public and Private Subnets."
Step 5: Enter the IP address range for your VPC. This is the IP address range that your instances will use. AWS recommends using a private IP address range, such as 10.0.0.0/16.
Step 6: Create the subnets for your VPC. You'll need to create at least one public subnet and one private subnet. The public subnet is where your resources with public IP addresses will reside, while the private subnet is where your resources without public IP addresses will reside. AWS recommends using a /24 subnet mask for your subnets.
Step 7: Configure your routing. You'll need to create two route tables - one for your public subnet and one for your private subnet. The public route table should have a default route to an Internet Gateway, while the private route table should have a default route to a NAT Gateway.
Step 8: Configure your security. You'll need to create a security group for your instances. A security group acts as a virtual firewall that controls inbound and outbound traffic to your instances.
Step 9: Launch your instances. You can now launch your instances in your VPC. When you launch your instance, you'll need to select the VPC and subnet you want to launch it in, as well as the security group you want to associate with it.
Congratulations! You have successfully launched your first VPC in AWS Cloud.
